
Archive: Installing an eRVin Software Image with Balena Etcher
WARNING: If you already have a running eRVin or CoachProxy system DO NOT overwrite the existing SD card! Purchase a new card (they are cheap), that way you can easily revert to the original should something go wrong.
In addition to the image file you will need the following:
- An 16gb or larger Class 10 micro SDHC card. An 8gb card should work but we recommend a 16gb card to provide for future expansion. 32gb or 64gb cards will work also but may be overkill unless you know you will eventually require the additional resources. We recommend a well known name brand SD card to avoid potential quality and/or performance issues. The Sandisk cards have so far proven to be very reliable. While the eRVin devices have been extremely reliable, we suggest always having a second backup micro SD card on hand, especially if you will be experimenting with your own modifications.
- The free Balena Etcher application.
- A Windows or MacOS device that can run the Balena Etcher application.
- An SD card reader, either built in to your Windows or MacOS device or a USB dongle.
- The SSID (network name) and password for the local WiFi network.
Create your image:
- Download the latest eRVinOS image file to your Windows or MacOS device.
- Download and install the Balena Etcher application.
- Insert the SD card in the Windows or MacOS device. Ignore any error messages or prompts to format the card.
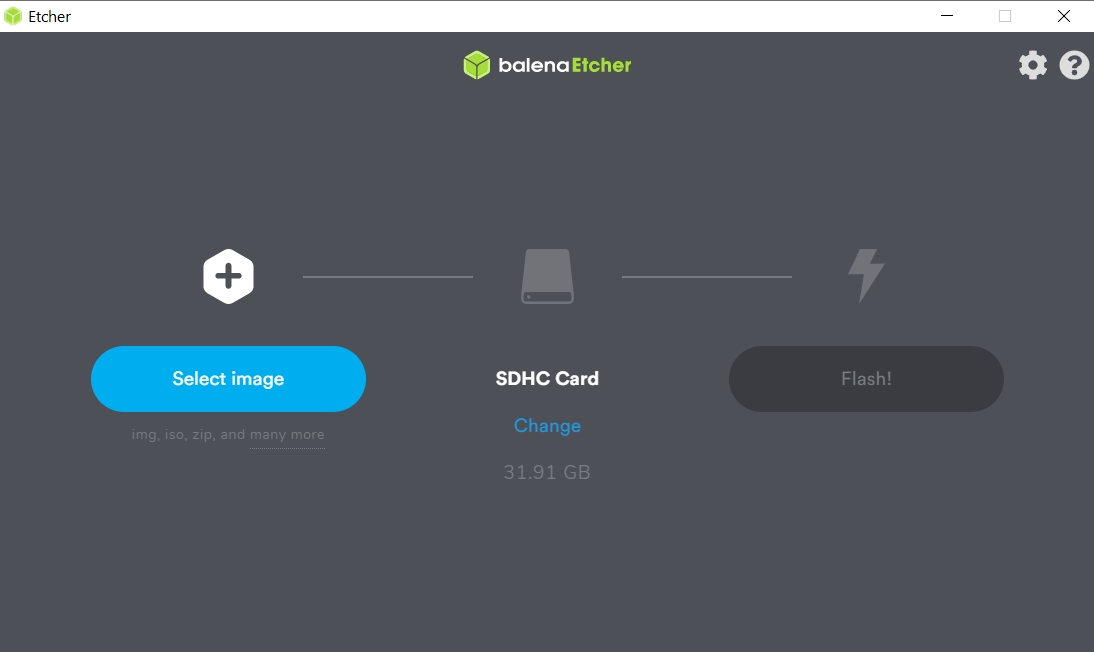
- Run the Balena Etcher application.

- Navigate to the image file and select it.
- Click the Flash button.
- The process can take up to 45 minutes to complete.
- When complete Balena Etcher will unmount the partitions so it is OK to physically remove the SD card at this point (at least that is true when using Windows, I’ve never done it on MacOS).
Add WiFi info to the SD Card Image:
- If you haven’t removed the SD card from the Windows or MacOS device, do that now then reinsert it.
- A window should open that is the boot partition of the image. There will be a bunch of files listed, don’t change anything. You will probably also get pops ups telling you the SD card needs to be formatted – IGNORE THOSE, just cancel them.
- Download the wpa_supplicant.conf-blank.txt file from here. Then using a text editor of your choice – on my Windows PC I usually just use Notepad – edit the information in the file as described in the following steps.
- Edit MyWiFiNetworkName to the name (SSID) of the WiFi network you will be connecting eRVin. Make sure the name is spelled exactly the same including capitalization and any spaces. Leave the double quotes.
- Edit mywifipassword to the password of your WiFi network, it also must be within quotes.
- Save the file with the updated info with the filename wpa_supplicant.conf
- Copy wpa_supplicant.conf to the root of the SD card boot partition as per step 2.
- Safely eject the card from your PC or Mac make sure the eRVin device is powered off and insert it into the micro SD slot on the eRVin device.
- You are now ready to boot eRVin! For the next steps go to Connecting eRVin to your RV.
[…] If for some reason you prefer to use the Balena Etcher method that procedure has been archived here. […]
[…] If your wifi info was not pre-loaded correctly, or does not work for some reason, please see this post for how to change it. Step 3 – Now you can connect to eRVin from any device that has a web […]
[…] Use a network scanner app, such as Fing. Download the app to a device on the same wifi network as eRVin and run it, then do a scan of your network. Again, look for a device with a name like Raspberry, Raspberry Pi or coachproxyos. It will look something like the highlighted item in the Fing screen capture below that was done from my Android phone. Make note of the IP address. For example my eRVin’s IP address shown below in the screen capture is 192.168.224.208, yours of course will be different. If you still can’t find it, then you may not have entered the WiFi info correctly into Raspberry Pi Imager when you originally flashed the image. You can try and flash the image again, or you can try this method. […]